Brow Grooming
At the age of 13, I allowed a friend to take ice to my brows while I sat on the floor with my head tilted back into her lap and she plucked away. By plucking my brows at such a young age and by doing it fairly often, my brows have never properly grown in. Plus there is no way ice should be coming into contact with your brows before plucking and never let anyone assist you with an upside down view like I did! To stimulate growth, I learned from a coworker a few years back to use a wet toothbrush to gently brush along the grain on the hairs and to let the brow grow in fully between plucking. This I have followed religiously and my brows are coming in very slowly! Now I understand many of you will not be interested in plucking and love getting waxed or threaded, which is great! You do you! But if you are on a budget, like myself, and you would rather DIY, then this is for you!


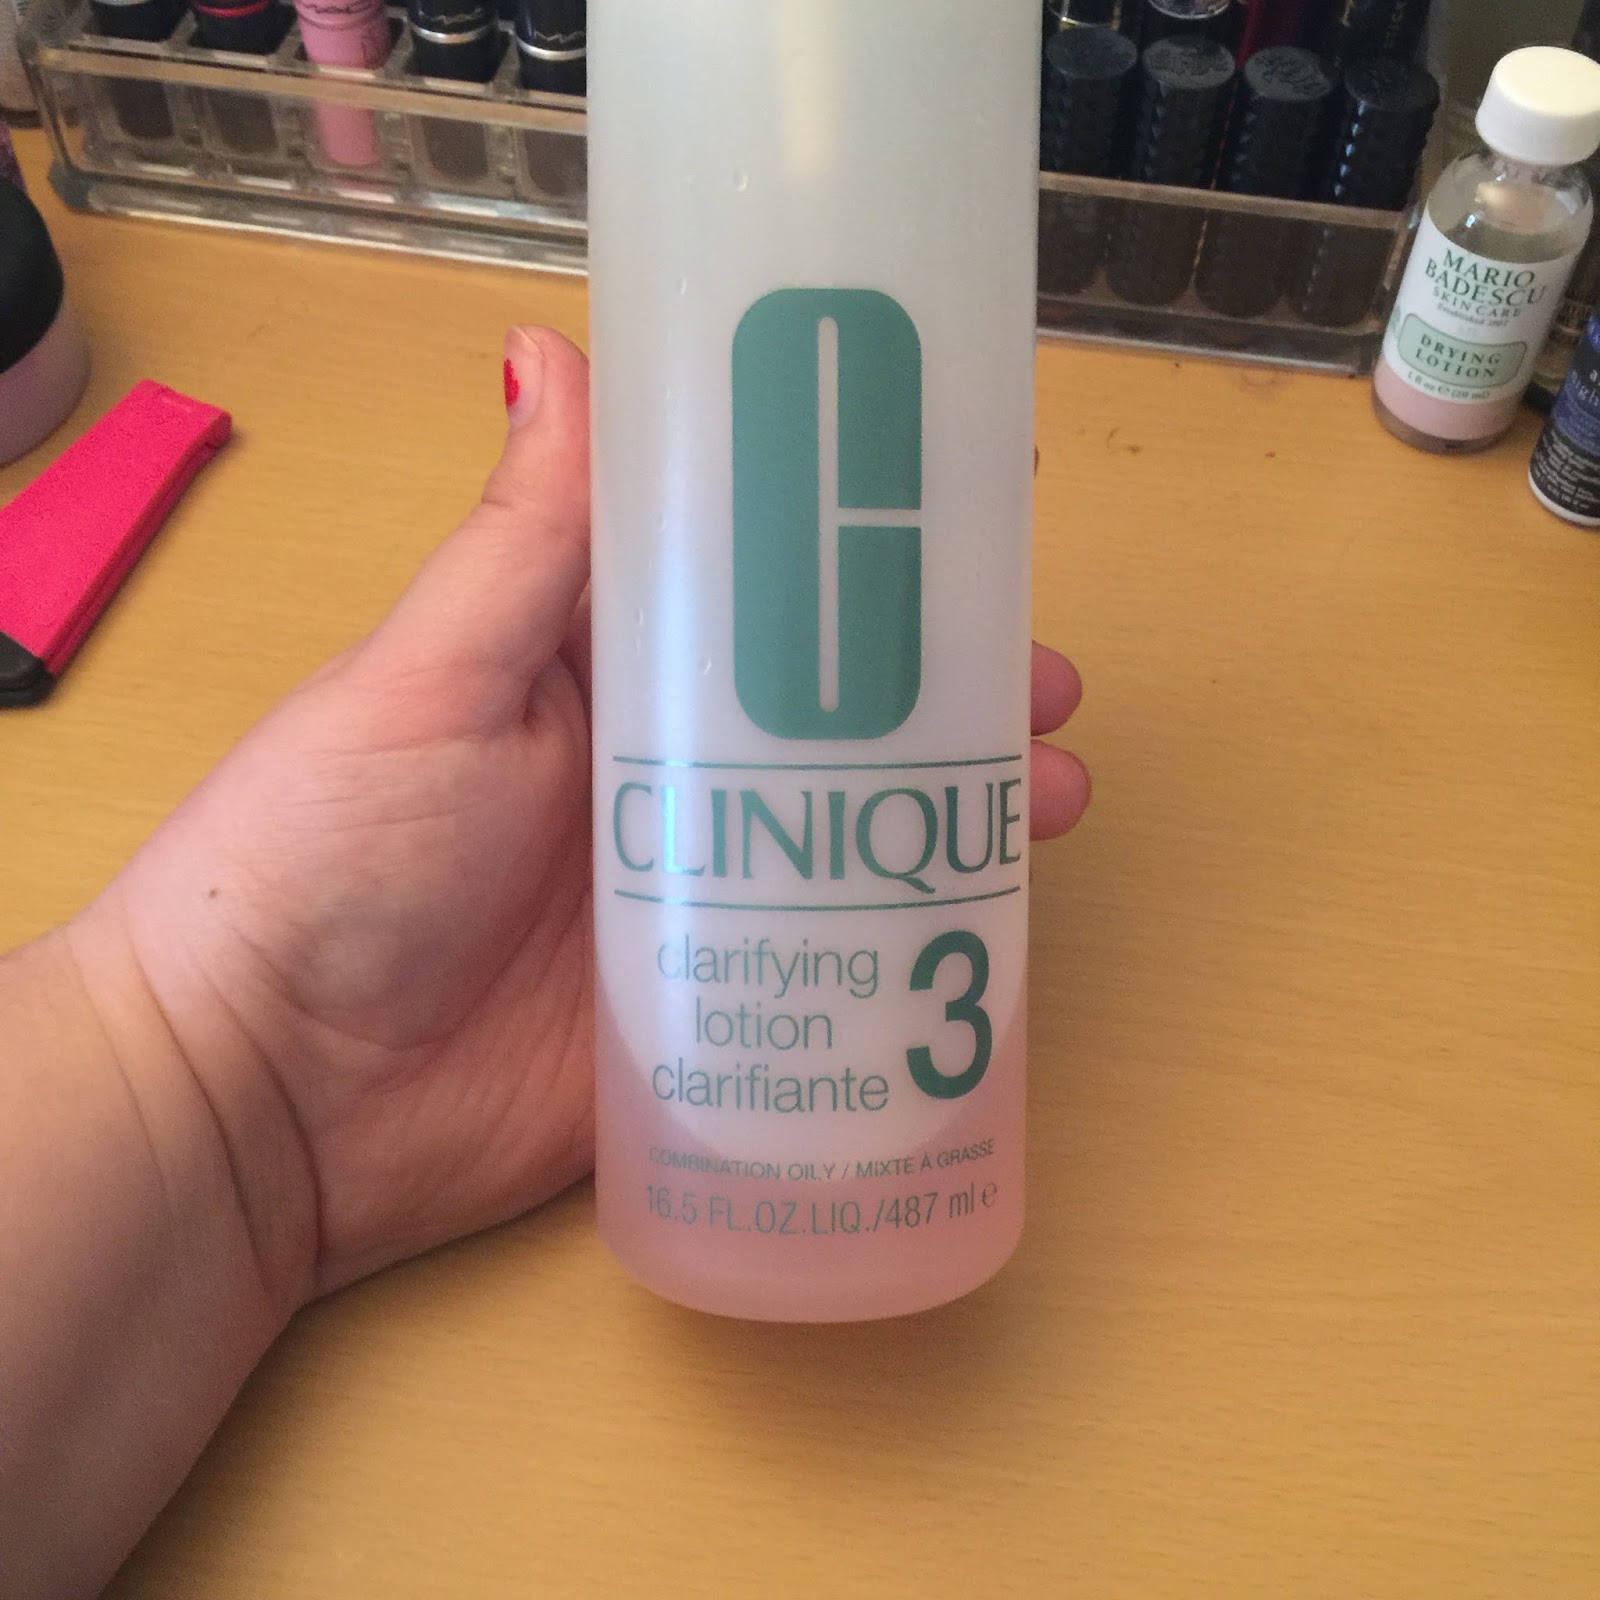
To start out, I clean the surface of any dirt and oil by washing my face or using a cleanser of some sort with cotton rounds. The one I used today was Clinique's Clarifying Lotion 3 and Target's Up&Up Cotton Rounds, to cleanse my face quickly. At this point I comb the brows in the direction in which the hairs grow without manipulation. So the start of the brow, the inner corner, I comb the hairs directly up, and the rest is combed out and down, as shown in the short video below. When the hairs in the inner corner are combed up, I cut the excess that is longer than the rest of the brow.
After combing and slightly trimming the length, I begin to pluck. Now there are many ways to trace the area of where to not pluck. You can use a black eyeliner pencil to fill in your brows but exaggerate where to not venture into or just fill them in as usual, but since I have small brows I feel it's unnecessary to complete this step. I normally pluck strays around the brow, whether it be above, below, or to the side, with in reason. Then I begin from the hairs closest to my eye and work my way up. Once I start to see the arch in my brow, I normally stop and comb the hairs to review what else needs to go. Any tweezers can be used for this step, but today I used my Anastasia Beverly Hills brow tweezers from a travel set I purchased awhile back.

Because I have sensitive skin, I always take another cotton round and clean the area again using the Clinique Cleanser. I complete this step again to avoid any dirt and oil getting trapped in my now very irritated pores where the hairs have been removed from. Once the area is dry, I use a product made specifically to avoid getting bumps, The Cool Fix Lip & Brow Post-Wax roller ball, and to instantly soothe the skin and reduce redness. This stuff is amazing! I always suffered from breakouts and when I used to get my brows waxed, the area was so puffy for hours, and now the redness goes away in 15-30 minutes!

Alright guys, that is it! This process normally takes me about 15 minutes, tops. I don't do it very often, since these past 3 years I have been attempting to grow what little brows I have, but I do try to maintain what is there! Let me know if you have any questions about my process or if you have any products that you use to combat redness and breakouts please comment them in the section below or on Twitter! Thanks so much for reading and good luck to those who are up late with me waiting to hear those Powerball numbers!!!

Comments
Post a Comment